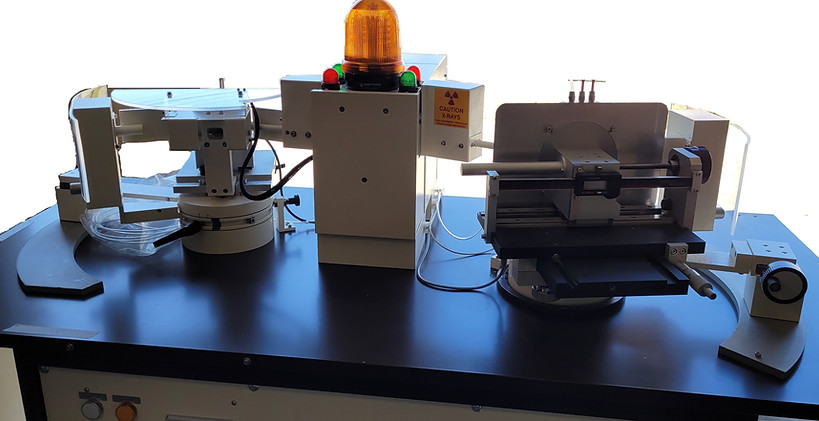
First Station
This station is based on our GM series as described in our data sheet ref. GM-Series (02-2007) and supplied in double diffraction configuration for accurate face orientation measurement of SiC wafers, by using a Si crystal monochromator, plane (111) Ө =14.22°, which is close to the planes of the crystals to be measured [(006) / (004) in 6h / 4h]
Specifications
-
High accuracy encoder
-
Fitted with long window detector for measuring tilted planes by 4°
-
Digital angle display in decimal degrees, accuracy 0.001°, resolution up to 0.001°
-
Horizontal work table for mounting of accessories. Acceptable load: up to 25 Kg
Standard holder with vacuum function
- Standard window type holder with tungsten carbide face and suction holes
- Adjustable spring pusher for holding larger samples.
The holder enables measurement of wafers at their centre up to at least 8” diameter.
Sliding holder for bending measurements
This holder mounts on the worktable and against a side datum so that it can be mounted and removed without requiring any re-calibration.
It incorporates the following items and features:
- Ground steel face with suction holes
- High precision translation stage, total displacement 160 mm
- Translation control with screw type dedicated device
- Digital display of the displacement (calliper type device)
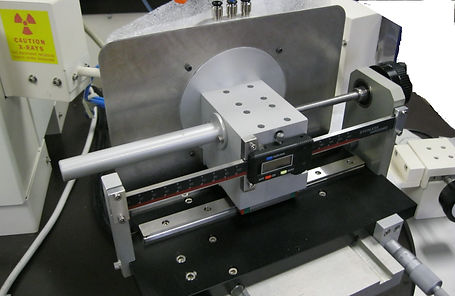

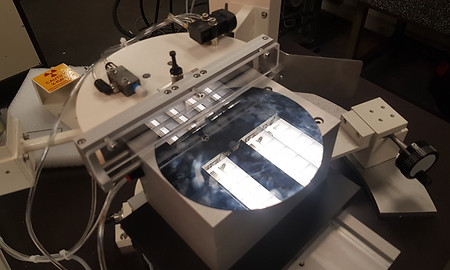
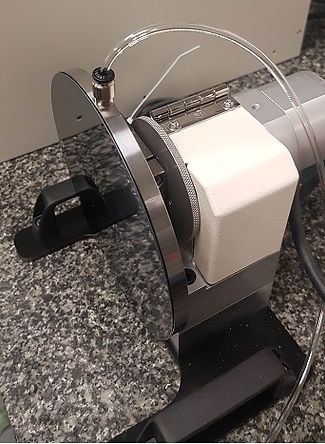
Holder for wafer flat orientation measurement
Wafer hold on the device by vacuum

Second Station
This equipment is dedicated to the rotational orientation of SiC crystals (flat orientation) and axial orientation of crystals before gluing (wire saw cutting purpose).
For these purposes, the worktable is fitted with a holding system which incorporates the following items:
-
Translation stage mounted on rail (perpendicular to instrument reference plane)
-
- Rotating device with encoder, accuracy/max. resolution 0.01°/0.001°.
-
- Fine tuning and break device for accurate rotation control
Rotational orientation process
The sample is glued on a holder which mounts into the rotating system at a repeatable position (mechanical reference)
The process consists in rotating the sample until a reflection peak is obtained.
The angular value displayed by the system corresponds to the angle between the holder reference and the grinding plane and will be used as an orientation reference to be transferred to the grinder.
The grinder is fitted with a compatible device and is calibrated in the same way as the goniometer rotating system.

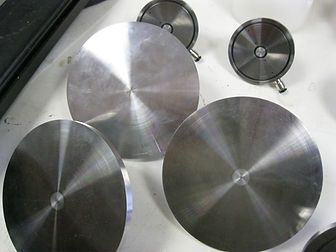
Axial orientation
The sample is maintained by vacuum on a holder which mounts into the rotating system at a repeatable position (mechanical reference)
The orientation process uses our standard GM.WS orientation procedure (See GM.WS data sheet).
Instead of the usual vertical line marking used in the GM.WS process, the angular value displayed by the rotating holder is used to transfer the orientation position to the gluing station, fitted with the same arrangement.

Angle reading (goniometer and rotational device)
This function is provided by PC system
-
Specific software for operation under Windows 10 (64 bits) (or less) environment
-
Dedicated PC board for PCI bus.
- Built-in PC equipment
Industry PC, in "mini-tower" configuration, including Central Unit with OS/English version, 17" Flat panel monitor, Keyboard, Mouse. (Details on request).
Central unit is mounted in a steel assembly on the side of the machine.
Monitor and keyboard are mechanically incorporated to the control casing assembly
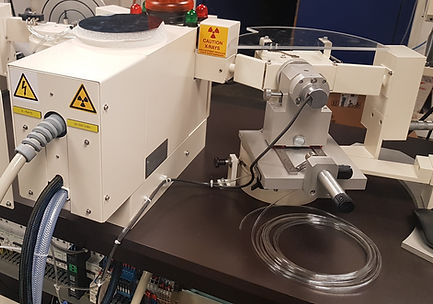
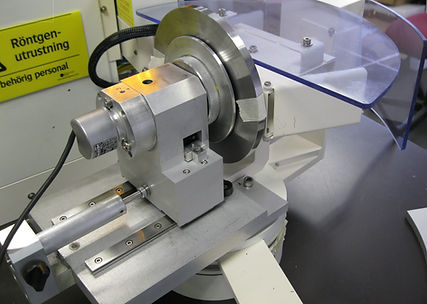
Tooling for second station
Holders for rotational orientation and axial orientation
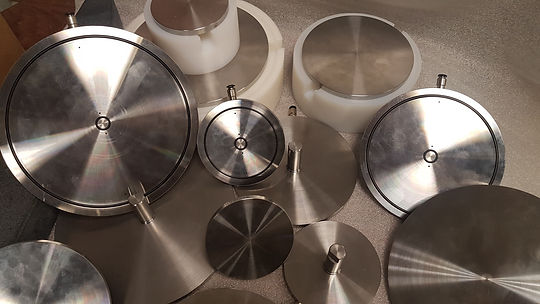
Tooling for grinder
Please provide us grinder specifications. Price could be revises in function of the grinder.
This adapter mounts on the magnet table of the grinder, the magnet table will have to be fitted with a datum side ruler for correct positioning of the adapter.
The base of encoder adapter can work with E-magnetic field table during grinder working.
This adapter is mainly composed of a body linked to an encoder, and this encoder is linked to an angular digital display. The adapter is fitted with a protective cover for protection during grinding operation.
Body of adapter is designed for a holder which mounts into the rotating system at a repeatable position (mechanical reference), sample is glued on this holder.
This holder will be the same as the one used on the GMR station of goniometer.
Adapter will be calibrated in the same way as goniometer rotating system.
Holder has to be set at the angular orientation reference given by the goniometer after rotational orientation process. When done, position of holder is locked and grinding operation can be done.


